Method
This design is one of the studio’s most popular and accessible designs. It works on every piece of bisque; plates, mugs, jugs, you name it, everything can be turned into a watermelon! For this example, we have used
10 – Candy Apple Red
27 – Sour Apple
31 – Just Froggy
36 – Tuxedo
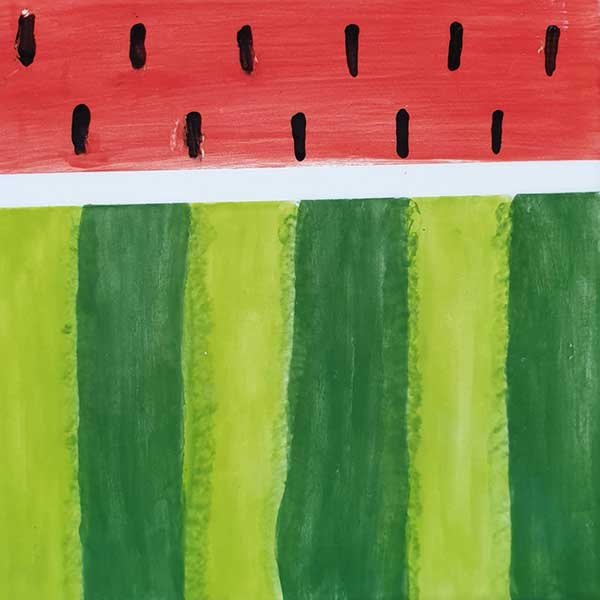
- You’ll need to use a felt tipped pen to divide the green area into an even number of light and dark strips of green. Remember that this ink will not survive the heat of the kiln and will burn away. Also mark L, D, L, D in alternate strips, so you know which colour to paint.
- You could also choose to add a white, unpainted band dividing the green and red areas. You could use a strip of washi tape to mask off this area.
- Paint the alternate strips with L = 27 (Sour Apple) and D = 31 (Just Froggy). Three layers is best and you can also add texture where the two colours meet. Both a hard edge or a sponged, blended edge work well.
- Paint the red area with three layers of 10. Wait until each layer is dry before painting the next.
- Once the red is dry, add a few random black seeds and if you’ve used washi tape, peel it off now.
Suggested bisque include tableware such as bowls and mugs. This design would also work well on the rim of plate.
And if you love this design, why not try our Project Pack? Take a look here